You may have heard of the term ‘crumb coat’, but do you know what it really is?
More importantly, do you know how to use it effectively in baking? If you are baking a cake, this is a step that you won’t want to skip.
Using a crumb coat will ensure that your cake doesn’t dry out as much over time, and can also help protect the delicate sponge layers from crumbling when you add frosting to decorate.
Below, we have written a complete step-by-step guide on how to make a simple crumb coat for a cake, along with all the ingredients and utensils that you will need to do so.
So, let’s get into it.
What Is A Crumb Coat?
A crumb coat is an optional layer of frosting on top of your cake that you can use as a finishing touch.
The process consists of covering the cake with frosting and refrigerating, allowing the frosting to harden and create a smooth base that can be easily, neatly decorated.
It’s not technically necessary, but it will ensure that the sides of your cake are covered in delicious frosting while providing a sleek surface for your icing if you prefer.
If you skip this step while decorating a sponge cake, it may be difficult to cover all the surfaces evenly.
When you remove your cake layers from their tins, you’ll find them very moist and sticky.
This is normal; after baking, cakes are at risk of drying out because they’re so full of air.
Additionally, there will most likely be a load of excess crumbs falling from the layers, which makes the decorating/icing process quite difficult since crumbs will get everywhere.
A crumb coat acts as a barrier between the cake itself, and the decoration, making it so much easier to decorate the cake.
Applying a crumb coat also gives the cake extra flavor, due to the extra frosting used.
If you want to make sure your finished cake looks flawless, why not give it the edge by using a crumb coat?
It won’t take long to do, and you’ll probably end up enjoying the extra crunchy bits as well!
How To Crumb Coat A Cake
Below, we have created an easy step-by-step guide to help you achieve that perfectly smooth crumb coating.
Before attempting this process, make sure that you already have all the ingredients and utensils ready.
Ingredients Needed For A Crumb Coat
- A sponge cake
- Buttercream frosting (store-bought or homemade)
- 1 cup (0.24 l) of butter
- 6 cups (0.95 l) of powdered sugar
- 4 tbsp of milk
- 2 tsp of vanilla extract
Utensils Needed To Create A Crumb Coat
- A pastry brush
- A palette knife
- A piping bag
- A turntable
- An offset spatula or a knife
- A cake board
- A large bowl
- A whisk (handheld or electric)
- A teaspoon
- A tablespoon
You should also make sure that you have a clear, clean area in your kitchen where you can lay down your cake, and set up everything you need to work with (as mentioned above).
Also, don’t forget to wash your hands beforehand!
Now that you are fully prepared, let’s start creating our perfect crumb coating.
Step 1: Prepare The Cake Layers
You will need to make sure that the cake is completely cool before applying any frosting.
If you attempt to apply the frosting to a cake that is still warm, it will become all gooey, and may melt straight off the sponge.
Once the cake has completely cooled, you can use the palette knife to shape and mold the layers into whatever design you desire.
Make sure that both (or all) pieces are about the same size, and trim around the edges to ensure that all layers are even.
You may notice some excess crumbs falling from the cake, but don’t worry about them: the purpose of the crumb coat is to trap these crumbs inside the frosting, creating a smooth base.
If there are a lot of crumbs, you can use the pastry brush to brush some of them away.
Step 1.5: Make The Buttercream Frosting
If you are using store-bought frosting, you can skip this step and go straight to Step 2.
If you are making your own frosting at home, you will need to grab the butter, powdered sugar, vanilla extract, and milk, along with the bowl, whisk, tablespoon, and teaspoon.
Place the butter and vanilla extract in your bowl, and whisk together until they have created a creamy consistency.
While whisking, slowly add the powdered sugar, one cup at a time.
Once the mixture is light and soft, fold in the milk to create a smoother texture.
Keep whisking until the frosting is thick and spreadable.
If you prefer to create chocolate frosting, add 2/3 cup of cocoa powder along with the powdered sugar.
You can also add another flavoring instead of the vanilla extract, depending on what flavor you want the frosting to be.
Step 2: Spread Frosting Inside The Layers
Next, take your cake board and add a dab of frosting in the center.
Then, place the first cake layer on top: this will ensure that the cake will stay in place while you are frosting it.
You will then want to spread frosting along the top of this bottom layer of cake, making sure the surface has been completely covered.
Then, place the second layer on top, securing in place to ensure that the cake is even leveled.
If you have more than two layers, repeat this process for each layer, ensuring that the top and sides are evenly spaced out.
Use the spatula to smooth out the frosting from the outside, but you don’t need to worry about icing the outside of the entire cake just yet!
When all the layers have been assembled, check that the cake is stacked evenly and completely leveled, and that the frosting has been thoroughly applied inside each layer.
Step 3: Refrigerate The Cake
Before you start applying the crumb coat, it is a good idea to place the cake in the refrigerator for somewhere between half an hour to 2 hours: the longer you leave it to cool, the easier it will be to create the crumb coat.
It is not required to cool the cake beforehand, but this will allow the frosting inside the layers to harden, meaning the layers will be less likely to wobble and move around while you apply the crumb coat.
You should also refrigerate the remaining frosting during this time, allowing it to cool and harden a little.
If you don’t want to refrigerate the cake beforehand, don’t wait too long to move onto the next step.
Waiting too long may mean that the frosting will melt due to room temperature, and the layers will slide around while you are applying the crumb coat.
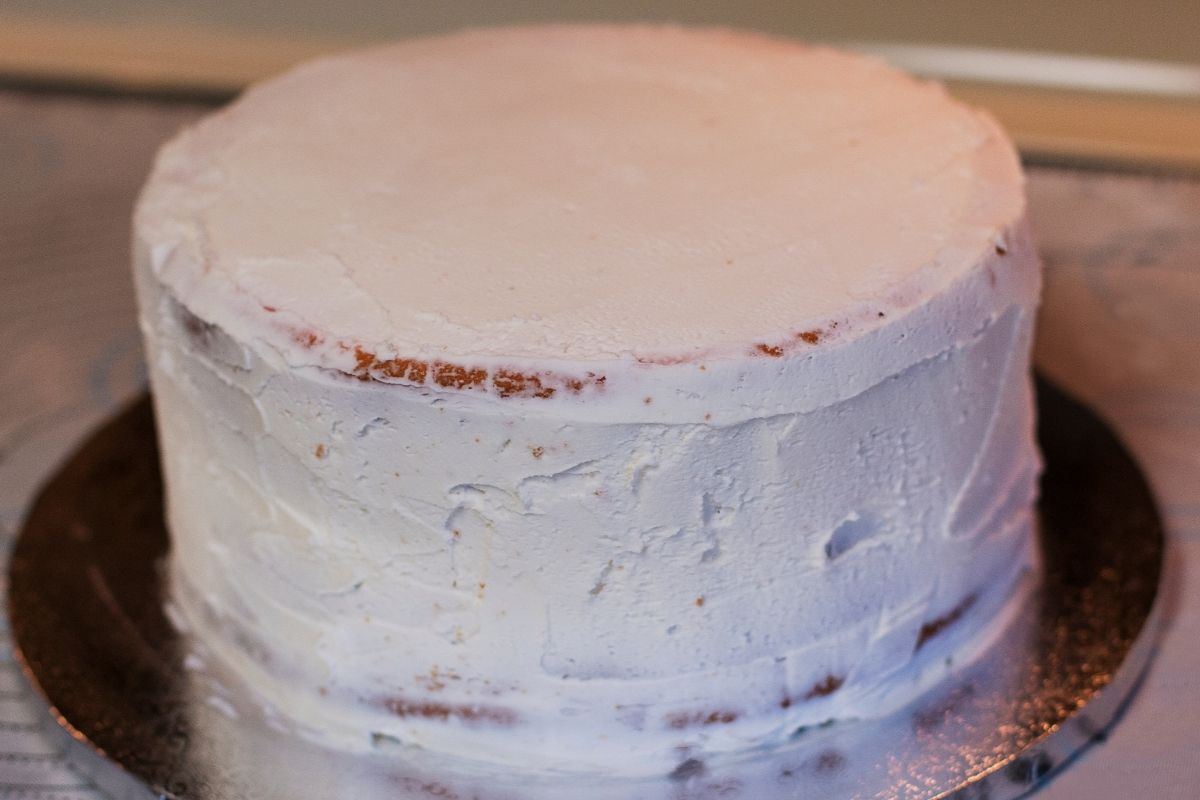
Step 4: Spread Frosting Over The Cake (Adding The Crumb Coat)
Now, it is time to apply the crumb coat.
Remove the cake and frosting from the refrigerator, and place both on the counter.
Grab your offset spatula, and stir the frosting to loosen it up.
First, use the spatula to thinly scoop frosting onto the cake.
You don’t want this layer to be too thick: in fact, it should barely cover the layers.
Then, use the spatula to completely smoothen out the frosting, getting rid of any bumps and imperfections: you will want the frosting to be completely smooth.
Again, don’t worry about all those pesky crumbs getting caught in the frosting.
The point of the crumb coat is to prevent them from being visible once everything else has been done, so you want them to get mixed up with the frosting.
Once the entire cake is covered in frosting, use the spatula to make sure that it is all even and level.
If there are any areas where there seems to be excess frosting or some uneven spots, gently scrape away at these with the spatula.
But don’t overdo it: if you’re scraping off too much frosting, you risk having holes appear through which you can see the cake.
Step 5: Refrigerate The Cake Again
Once the cake is covered, place it back inside the refrigerator for another 20 to 30 minutes.
Allow the crumb coat to completely harden before moving onto the final steps.
While you’re waiting for the frosting to cool, you might as well prepare the rest of your ingredients to decorate the rest of the cake.
Step 6: Finish Decorating The Cake
Take the cake out of the refrigerator and check that the crumb coat has set.
If it has, then you are ready to finish decorating the cake!
Final Thoughts
So, there we have it! That was our guide on how to successfully create a crumb coat on a cake.
We hope you enjoyed reading it, and learned something new.
Good luck, and happy baking!