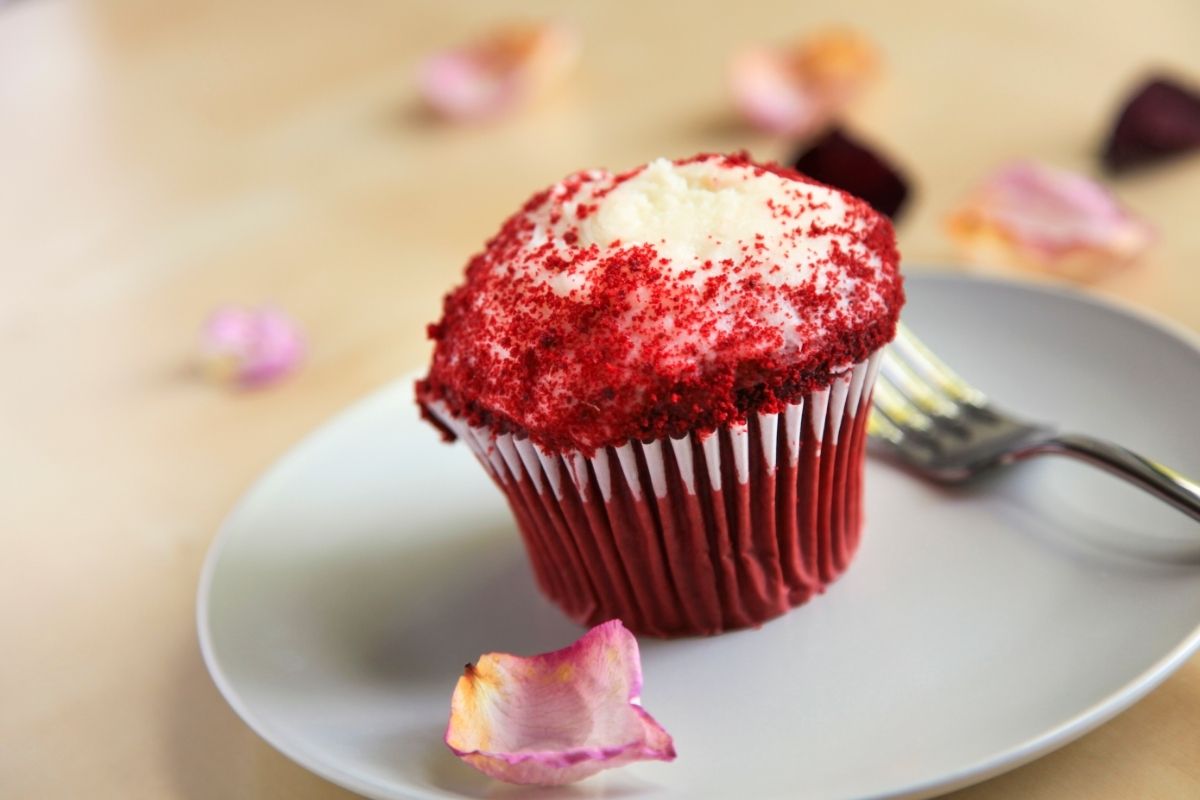
Red velvet cakes are super yummy as they are but add cream cheese frosting to the mix and you’ve got an out-of-this-world experience.
These red velvet cupcakes are some of my absolute favorites.
They are perfect for any occasion, but the splash of color makes them the perfect dessert for a Christmas party or to celebrate Valentine’s day.
Overview
Before we begin, here are a few things that you’ll need to know:
- This cake mixture is really simple to make, you can opt for a pre-made red velvet mix if you desire, but honestly, it tastes much nicer when you make the batter yourself. If you do use a pre-made mix you’ll need to adjust your filling and your cream cheese frosting ingredients accordingly.
- With this recipe, there is exactly enough of each ingredient to make 24 cupcakes. If you need more than 24 cupcakes you will need to adjust your measurements for the ingredients.
- If you’re hoping for a really vivid red color for your cheesecake cupcakes, then you’ll need to add an extra teaspoon of red food coloring.
- You want to ensure that the cream cheese mixture stays in the middle of your cupcake. You’ll want to try and avoid any cream cheese coming into contact with the cupcake liners as it can ruin the look. Although if this does happen, don’t stress too much as you can find any imperfections with the frosting.
- These cakes are perfect for freezing so you can enjoy them later!
How To Make Red Velvet Cheesecake Cupcakes
Ingredients
Now, you may want to get a pen and a piece of paper to jot down all the ingredients you’re going to need.
Since there are three components to the recipe, you’ll need a few different items. You can see these below:
For The Cupcakes
- 2 1/2 cups all-purpose flour
- 1 1/2 cups sugar
- 2 teaspoons unsweetened cocoa powder
- 1 teaspoon salt
- 1 teaspoon baking soda
- 2 eggs
- 1 cup oil
- 1 cup buttermilk or 1 teaspoon vinegar with enough milk to make 1 cup
- 1 teaspoon white vinegar
- 1 tablespoon vanilla extract
- 1 tablespoon red food coloring
For The Cheesecake Filling
1 8-ounce package of cream cheese, room temperature
1/3 cup sour cream
1/4 cup sugar
1 teaspoon vanilla extract
For The Frosting
- 8 ounces cream cheese softened
- 1/2 cup unsalted butter softened
- 4 cups powdered sugar
- 1/2 teaspoon salt or to taste
- 1 tablespoon vanilla extract
Instructions
Once you’ve got all your ingredients in front of you, it’s time for the fun part!
And that’s making these delicious cakes, so without further ado, let’s jump straight into it.
Making The Cake Mix
- Preheat your oven to 350 degrees and while you’re waiting start to line your cupcake pan with cupcake liners.
- Next, get yourself a mixing bowl and add the flour, sugar, cocoa powder, salt, and baking soda, and then whisk.
- Then place the eggs, oil, buttermilk, white vinegar, and vanilla extract in a separate bowl and whisk.
- Add the flour mixture into the wet mixture and using a hand mixer, mix until completely smooth.
- Then add your food coloring to the mixture and mix very slowly until it combines and changes color.
- Finally, place the batter into the cupcake liners. They should be filled about halfway (2/3 tablespoons of the mixture)
Making The Cheesecake Filling
- You’ll need to add the cream cheese, sugar, vanilla, and sour cream together in a bowl and mix with a hand mixer. Keep going until the mixture is completely smooth.
- Next, pop a small blob (1-1.5 tablespoons) of this mixture into the center of the cupcake batter, trying to avoid the cream cheese touching the liners.
- Using the back of a spoon, smooth and spread the mixture out still avoiding the liner.
- Bake the cupcakes for around 15-18 minutes. (Tip – you can stick a toothpick into the middle and if it comes out with no batter on it you know they’re done)
- Let them cool until they reach room temperature and then pop them in the fridge for a minimum of 2 hours to cool completely before you begin frosting them.
Making The Frosting
- Add the cream butter and cream cheese to a bowl and mix by hand or with a stand mixer until the consistency is fluffy.
- Then add the vanilla extract, salt, and powdered sugar slowly and keep mixing until it becomes smooth.
- Frost your cupcakes. If you want the ultimate professional effect, use a piping bag to swirl the frosting on top.
- Eat and enjoy! If you don’t have room for any more, you can also refrigerate them for a maximum of three days or you could even freeze them to enjoy at a later date.
Frequently Asked Questions
What Does Red Velvet Taste Of?
A traditional red velvet cake will taste like chocolate cake. This is then paired with a similar frosting to a carrot cake.
It’s a slightly sour, tangy cream cheese frosting that compliments the cake really well.
Is Red Velvet Just Chocolate Cake Dyed Red?
A lot of people may think this, and to a degree, it is a chocolate that has been dyed red with food coloring.
However, there are also additional ingredients in a red velvet cake that change the flavor, such as vinegar and buttermilk which help deepen the flavor.
Why Is Vinegar Used In Red Velvet?
Vinegar isn’t often used in cake mixes but here it helps to give the cake extra raising power.
Final Thoughts
And there you have it, you should now have 24 delicious red velvet cupcakes with a yummy cream cheese filling center and a tangy cream cheese frosting.
You’re sure to brighten up any event with these delicious desserts and you’ll have everyone envious of your amazing cooking skills.
So whether you choose to make these beautiful cupcakes for a birthday party, for a special someone on valentines day, or as a Christmas party-themed cake, you are sure to put smiles on the faces of everybody that tries them!