There’s nothing I hate more as a baker than discovering my rising dough has stayed decidedly flat. You just know that instead of soft and fluffy bread, you’re going to end up with something dense and chewy.
Dough needs one of two things for a good rise: a warm ambient temperature or a lot of time. As most of us don’t want to wait overnight for our dough to rise, we tend to opt for a warm place to proof dough.
In this guide, I’ll take a look at some of the best places for dough to rise.
Temperature And Rising Dough
A good dough rise is all about the temperature. Yeast dough rises when the yeast eats sugar in the dough, producing gas bubbles. As more sugar is eaten, more gas is formed, and the dough gets structure and flavor.
Warm dough will rise faster than cool dough. However, dough that rises too quickly can lose flavor.
But dough that’s too cold will take ages to rise. Most of us don’t have time for a very slow, cold rise.
The perfect temperature will help the dough rise faster while maintaining flavor. So, how do we rise dough efficiently?
The Best Places To Help Dough Rise
Bakers tend to have their own methods for bread rising, but here are some places to use for a good prove!
Proving Drawer
A proving drawer, or proofing drawer, is an oven compartment. They tend to be found below the main oven compartment.
A proving drawer has a limited temperature range. It can be kept warm, not hot, allowing the dough to prove gently.
Dough Proofer
The dough proofer is essentially a proving drawer that’s separate from the oven. Like the proving drawer, it has a limited temperature range. Inside a dough proofer, things are kept at an even and warm temperature.
Dough proofers and proving drawers are incredibly convenient. If you have one, this is the best place to rise dough!
But these appliances typically require a financial investment. For regular bakers, they can be worth the money. But if you only make bread occasionally, there are other (free) methods to get your dough rising!
Sealed Container
A sealed container or covered bowl creates humidity. This humidity ensures the skin of the bread dough stays soft, for a better rise.
For the avid baker, a dough-rising bucket is an inexpensive way to create an ideal environment.
If you don’t have a dough-rising bucket, choose a plastic bowl with a lid. Or use plastic wrap to create a tight seal across the top of the dough container! The plastic wrap will keep warm, moist air in, for a better rise.
You can also use a shower cap! This method is particularly useful for a second rise, especially if the bread dough is already in the pan.
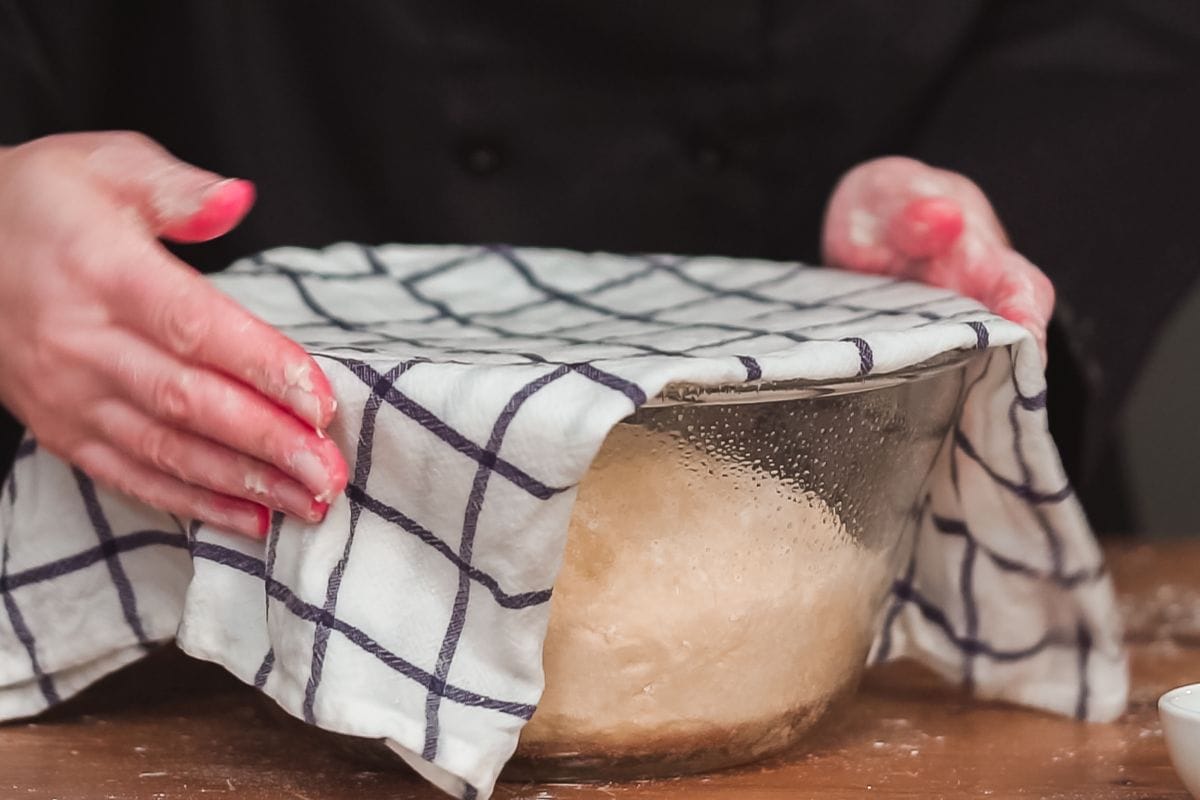
A damp tea towel is a traditional way to cover proofing dough, but it’s not a great option. The porous towel allows moisture to escape. Use a plastic seal instead.
On The Windowsill
Sometimes, the simple methods are the best. If your cold house isn’t allowing your dough to rise, you might just need to find a warmer spot.
Place the dough in a bowl and cover it with a lid or plastic wrap. Look for a spot in the house that’s warm without being too hot. The windowsill is often a good choice.
You can also find an area close to a heat source, like a radiator. Make sure the dough isn’t too close, so it won’t start cooking.
Steamed Microwave
The steamed microwave is a popular baker’s trick and it’s a method anyone can use to encourage a good dough rise.
Bring a few cups of water to the boil in the microwave. This should only take a few minutes. Once you’ve reached boiling point, turn the microwave off and leave the door closed with the very hot water inside.
After about 5 minutes, the overall temperature of the microwave will have dropped. Remove the hot water and quickly place the uncovered bowl of dough inside the microwave. Close the door, and wait.
Throughout the proving period, the microwave will gradually cool.
In The Oven (Light On, Temperature Off)
This option requires a little bit of experimentation. But once you’ve mastered your oven temperature, it’s a really easy method for a good rise.
To prove dough in the oven, you need to achieve the right temperature. An accurate oven thermometer is a great investment and very helpful in this scenario!
Turn the oven on very low and gradually allow the temperature to rise to between 75 and 78 degrees F. Switch the heat off and place the dough (inside an oven-proof bowl) into the turned-off oven.
Leaving the light on for 30 minutes allows you to see what’s going on with your dough and keep the temperature stable.
Depending on your oven, you might be able to heat the interior with just the oven light! This is where the thermometer really comes in handy!
On The Counter
On a warm day, you can always leave your bread dough to rise on the kitchen counter. Keep it covered, find a spot at a comfortable temperature, and wait!
During the colder months, you can place your covered bowl higher up. Heat rises, so the top of the fridge is probably warmer than the countertop.
At cold temperatures, dough rises slowly. If you have time to wait, you can leave the dough on your counter overnight for a tasty rise.
Conclusion
A good rise is important when you’re baking bread. To achieve a good rise in a reasonable time period, you need a warm place and a humid environment.
The easiest way to create this is with a covered bowl in a warm spot! The dough will rise in about an hour and you’ll get the perfect texture and a yummy flavor.
Frequently Asked Questions
Can You Use A Heating Pad To Prove Dough?
You can use a heating pad to prove dough, but you have to be careful, or the dough can start to cook. Wrap the heating pad in a thick towel.
Place the dough inside a covered bowl on top of the towel. The barrier between the heating pad and the dough should prevent burning.
Can Dough Rise In The Fridge?
Yes, dough can rise in the fridge but it takes some time. If you want dough to rise in the fridge, leave it for 8 to 12 hours.
Hi! I'm Kate and I have been baking and cooking for as long as I can remember. I like to share the most interesting tips and recipes I try here on What Kate Baked for you to enjoy. If you have a favorite recipe you'd like to share send it over on social.