Baking is obviously quite challenging at times – You have to nail the recipe and timings for it to work, but it can also be tricky in practical ways you don’t foresee.
One of the major problems I battled with when cutting my sweet teeth in the kitchen was the dreaded sticky parchment paper debacle.
My cakes would be perfectly baked, but as soon as I tried to remove the parchment paper, I’d tear them to shreds.
Thankfully, after many disastrous attempts to quell this baking sheet bedlam, I finally perfected some techniques to prevent cake sticking to parchment paper.
Stick with me, and you’ll be free from this sticky situation in no time!
Why Is My Parchment Paper Sticking To The Bottom Of The Cake?
In order to find a solution to this cakey conundrum, we first have to figure out why it’s happening, which is precisely what I did.
The main reason our parchment paper gets a little clingy is that the moisture from the cake batter evaporates. The steam created begins to condense, forming a sticky layer between the cake and the paper.
If you’re unable to remove the paper when the cake is fresh from the oven, the bond will only strengthen as the cake sits on the cooling rack.
This is bad enough, but if the paper hasn’t been sufficiently greased, this glue can burn, effectively welding your cake to the parchment paper – Boo!
At this point, the only hope you have of saving your cake is spraying the bottom side of the stuck paper with some warm water, letting it settle for a few minutes, then gently removing it with a flat-edged knife.
You’re much better off taking preventative measures earlier on, which I’ll detail in the following guide.
How To Keep Greaseproof Paper From Sticking To Cake: A Step-By-Step Guide
There are measures you can take before and after baking your cake to minimize the chances of the parchment paper getting stuck.
Step 1 – Using Non Stick Spray
Before you pour your fresh cake batter into your pan, cut your greaseproof paper and give the top side a generous spray with non stick cooking spray.
You’ll also need a greased pan, so spray your pan base a couple of times too.
Lay the greased-up parchment paper into your pan, spoon in your cake batter, then continue as normal.
This isn’t going to completely stop the cake from sticking, but this is the first of a few expert tips that will make the paper easier to remove from your cake.
If you don’t have any cooking spray, a few drops of high smoke point oil will do the trick. Make sure to spread it around evenly with a paper towel. And whatever you do, don’t use wax paper! We’ll talk more about why a bit later on.
Step 2 – Swift Removal From The Oven
To give yourself the best possible chance of an easy separation, don’t allow your bake to linger in the oven.
As soon as your poking tool comes out clean, get your cake outta there! .
Leaving it in too long will allow the condensed glue to burn, making it impossible to remove the paper without leaving your cake looking like the surface of the moon.
Step 3 – Use A Wire Rack Immediately
So, you’ve retrieved your baked goods from the oven promptly, excellent, but you’re not out of the sticky woods yet!
Don’t hang around. Turn your cake from the pan onto a cooling rack immediately, as if it’s left to cool in the pan, the bond between cake and paper will strengthen.
Step 4 – Spray The Parchment Paper With Water
At this stage, you’ve taken your cake from the pan, and it’s resting on the rack or possibly a cutting board if you don’t have one.
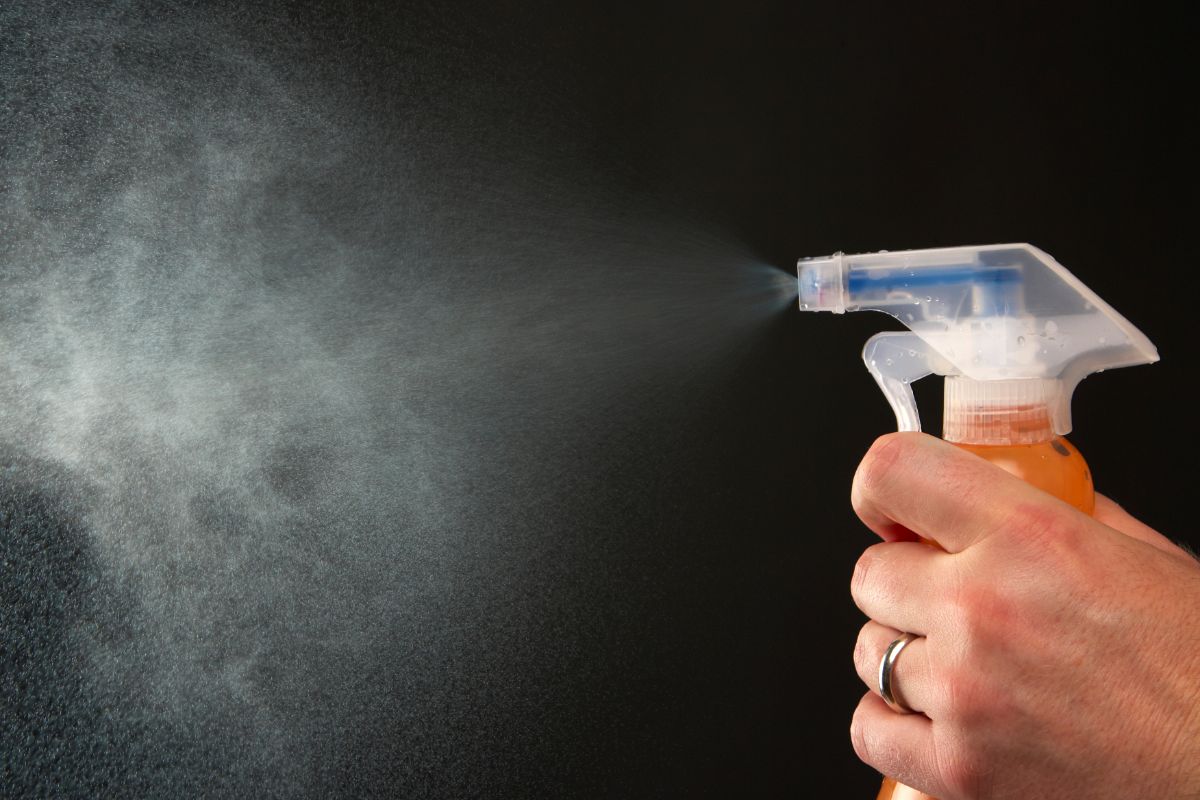
The bottom of the parchment paper should now be facing upwards.
Grab a clean, empty spray bottle, fill it with warm water, and spray the bottom of the parchment paper 2 to 3 times, letting the moisture settle for 2 to 3 minutes or so.
Step 5 – Removing The Parchment Paper
The warm water underneath the parchment paper should have loosened its hold on your cake. Now’s the time to carefully peel the parchment paper away.
An absolutely clean release is unlikely, even after following this guide, so, using your hand, you may end up having to pull off small pieces, which is why I’d recommend using a flat-edged knife.
Take your time. The more cautious you are, the more likely you are to get the baking paper off in one piece.
The knife can be just as damaging as the paper, so if you want to keep your cake layers perfect, don’t rush.
Step 6 – Patting Your Cake Dry
It’s possible that some of the excess moisture used to remove the baking paper will have seeped into your cake, so grab a paper towel, pat it gently, and that’s that!
Frequently Asked Questions
Can I Use Wax Paper For Baking?
Being that waxed paper is, well… waxed, you might think it’s a better option when it comes to sticky baked goods, but it actually has the opposite effect.
Wax paper is a fantastic non-stick tool, but the wax melts in the oven, gets all over your cake, then, upon cooling, will adhere the paper to the base of your bake.
Will I Need Parchment Paper If I’m Baking In A Non Stick Pan?
When using pans with non stick surfaces, you’ll still need to add a sheet of parchment paper, as a non stick surface can emit toxins at high temperatures.
The paper prevents your cake from leaching these toxins.
If you’re using a traditional cake pan, and you don’t have any baking paper, you can make a fitting lubricant by combining equal parts all purpose flour, vegetable oil, and shortening.
Do still pick up some baking paper next time you head to the store, though, as it helps with removing the cake from the pan.
Final Thoughts
Unfortunately, how to keep the parchment paper from sticking to your cake will not be included in a recipe’s instructions, so it’s up to you to protect your bake, but now you have all the pro tips, you shouldn’t have a problem ever again – Hooray!