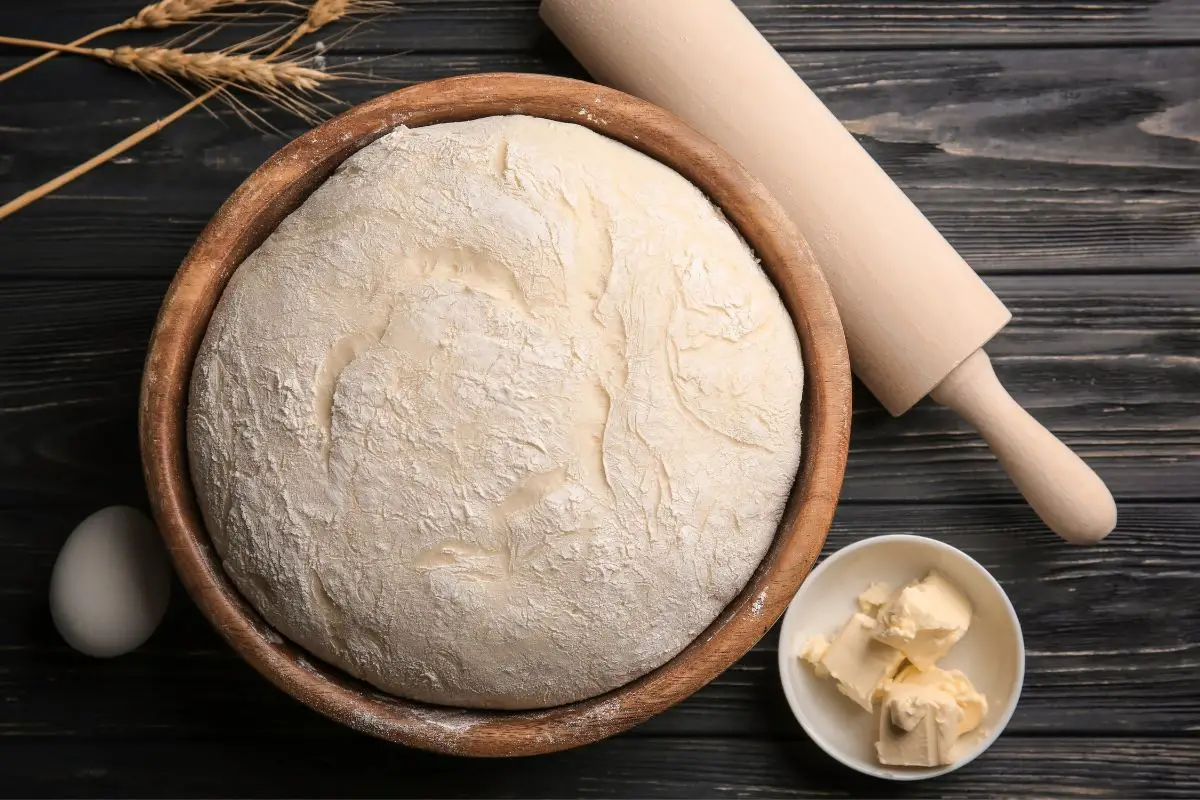
When it comes to making bread dough properly, there are a lot of steps to go through. As such, this can lead to a lot of confusion, too.
Since baking bread dough is a somewhat complicated process and most recipes don’t go into detail why certain steps are required, it can leave you feeling confused.
Some recipes may outline that the dough should be knocked out and kneaded once it has finished proofing, however, you may be wondering, what’s the point?
Well, after your dough has completed its first rise, it can be kneaded gently to redistribute the yeast and remove any excess gas. This is generally the case for almost every type of bread dough.
That said, if you’ve developed enough gluten in the first rise, you don’t have to worry about kneading the dough again.
With this in mind, this article will explore everything you need to know about the question: can you knead dough after it rises?
So, Can You Knead Dough After It Rises?
The answer is yes, you can. However, only in certain situations.
For instance, you should only knead the dough after the first initial rise if you’re looking to minimize the risks of your bread developing large holes, which is caused by increased gluten development.
There are certain types of bread that require a very even and close crumb surface (sandwich bread). If there are holes in this bread, it can ruin the look and the toasting capabilities.
Holes in your homemade bread are often the result of a pocket of gas inside the dough, which becomes larger during rising and baking. During the shaping, it doesn’t get pushed out – creating a problem.
After the first proof, if the gas bubbles aren’t released, they will simply continue to expand and create holes in your bread.
These gas bubbles have the capability to expand much larger and burst into other pockets, creating large holes that run throughout the length of your bread.
How Does Kneading Dough Help?
The first knead is generally longer than the second knead (otherwise known as the knock back). The first helps to organize the gluten to ensure the dough is elastic and smooth. It ensures it can hold the gas and rise in volume.
The second knead is used to break up the large bubbles of CO2 in the dough. These are the result of the first frenzy when the yeast came into contact with the food from the flour and water.
Unlike the first rise, the second rise (or proof) is less active, hence, the gas bubbles here are much smaller. This is why two stages of kneading are sometimes used – in addition to building flavor, too.
For a bread with smaller holes, such as a typical loaf, you can choose to deflate the dough completely. Likewise, you can fold the dough a couple of times to shape which helps to preserve the gas.
This provides the bread with big holes, great for something like a ciabatta.
How Long Does The First Rise Take?
You’ll know when the first rise (also known as bulk fermentation) is complete when the dough has doubled, or even tripled in size.
If you leave your dough to rise for longer, the better the bread will become. Not only does this improve the texture but the flavor, too.
Two factors influence the time required for your dough to complete its first rise, this includes the temperature and amount of yeast.
Generally, for most recipes, this is around 2-3 hours, however, with less yeast and a lower temperature this could take over 5 hours.
Dough Shaping And Proofing
Once you have knocked back the dough, it is ready for shaping and proofing (this is the second rise before being placed in the oven).
For advanced shaping, your dough may need a ‘bench rest’ to sit before being shaped again – this should only take 20-30 minutes and allows the gluten to relax to shape without tearing.
If you aren’t doing any elaborate shaping, then you simply fold your dough into your desired final shape. Here, fold the outside corners into the center until you have a smooth, circular dough.
How Much Kneading Does The Dough Require?
With kneading, there are two stages, both of which can be achieved with your hands.
Instead of using a mixer, this allows you to build up your knowledge and skills when it comes to kneading dough for the perfect bread.
First Knead
A standard knead should last around 10 minutes if you’re inexperienced. As you get used to the technique, you could reduce this time to 5-6 minutes.
Nevertheless, you can tell when your dough is done with the window pane test. This is where you stretch the dough until you can see light through it without any tears.
With a stand mixer, this process only takes 6-8 minutes.
Second Knead
The second knead should be shorter than the first and done gently, too. This is due to the fact that you don’t need to build up your gluten.
Here, you’re simply redistributing the gas in the dough and providing it with a ‘reset’ before allowing it a second rise.
When kneading, you should avoid tearing the dough on a worktop, instead, you should push it down which will help deflate the gas inside.
Simply fold the outside edges of the dough inwards, making sure to turn the dough as you go – repeating until done. Once ready, pop in your loaf pan and bake according to the recipe.
Final Thoughts
Baking bread can be seen as a somewhat tedious process, however, the end results are certainly worth the hassle.
To answer the question: can you knead dough after it rises, the answer is yes, you can. However, this is dependent on the type of bread you’re making and the loaves you desire.
This is typically achieved with a first and second knead. Hopefully, this guide has provided you with everything you need to know about whether you can knead dough after it rises.