If you’re here, I’m guessing that you’ve heard about that awesome trick you can do to get caramel from condensed milk. Typically, it involves boiling condensed milk in a pan until it becomes dulce de leche (caramelized milk).
It’s a pretty sweet transformation, but what would be even better is if you could pull it off in a microwave – No pans, no burners, no stove top, no fuss!
The good news is that you can absolutely make caramel out of your condensed milk in the microwave. In fact, it couldn’t be easier, although you do have to keep a close watch on it, as there is a HIGH risk of overboil. Follow this caramel recipe to make your own delicious dulce de leche.
Turning Condensed Milk Into Caramel
This recipe couldn’t be any more rudimentary. With just a few simple ingredients, you can turn that can of condensed milk gathering dust in the back of your kitchen cupboards into a golden delight.
What You’ll Need
You really only need a single unopened can of condensed milk to pull this, the greatest of microwave candy recipes, off, but I’m going to be adding a few choice extras to my caramel recipe to kick the flavor and consistency up a notch.
You’ll need:
- A can of sweetened condensed milk
- Some salted butter
- Vanilla essence
- A microwave safe bowl
- A whisk
Microwave Oven Caramelization – A Step-By-Step Guide
- Cooking Time: Between 5 and 10 minutes
Step 1: Pouring The Milk
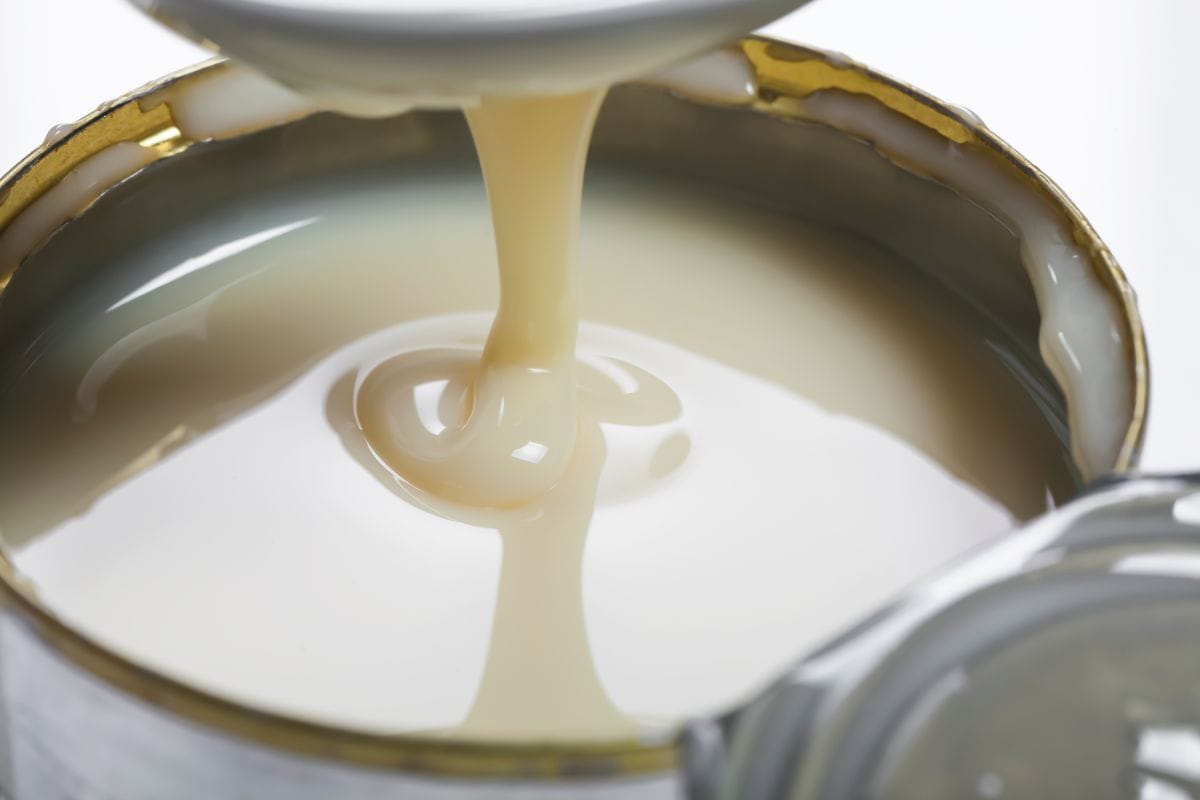
First up, grab your unopened can of condensed milk, crack it open, and pour the whole thing into a microwave safe bowl.
Why the whole thing? Well, what we’re doing here is essentially reducing the milk down, meaning the volume you put in won’t be the volume you get out.
Step 2: Initial Heating
Before you add anything to the milk, pop it in the microwave and heat it on full power for about a minute. Now, the power of microwaves varies from model to model, so don’t move a muscle. Keep an eye on your milk as it heats. If it boils over, you’ll be left with a horrendous cleanup on your hands.
If your attention span is as short as mine, it’s worth lining your microwave with wax paper to catch any spills. Wax paper is preferable to parchment paper as it contains zero plastic, making it very microwave-friendly indeed.
Step 3: Whisking
Carefully remove your now warm milk from the microwave and give it a good whisk. Whatever you do, don’t dip your finger in to check the temperature, as it may well be insanely hot already.
Step 4: Flavor Enhancers
Before you put your milk back in the microwave, add vanilla essence, not loads, but a couple of drops will definitely elevate your homemade caramel mixture.
Now’s the time to melt butter into the mix too, but don’t worry about doing this manually. Just put half a teaspoon in and let the microwave take care of the rest. The butter will make a super soft caramel sauce.
Step 5: Back Into The Microwave
Pop your caramel mixture back in the microwave, set it to medium power, then set the timer for a minute. Again, you’ll need to watch it closely to prevent overboil. When the minute’s up, retrieve your homemade caramel and whisk it some more. If you don’t have a whisk, stir it well with a spoon.
Step 6: Rinse & Repeat
All you have to do now is continually heat your caramel for 1 minute intervals, whisking it every time the microwave dings.
As for when your homemade caramel is ready, you’re waiting for a butter-yellow color rather than a golden caramel hue.
The heat of your homemade caramel will continue to cook the mixture when you get it out, so if you reach caramel color while it’s still in the microwave, it will end up burning.
A good workaround is to place your bowl in a container full of cold water to fast-track the cooling process, but you’re best off avoiding this situation altogether.
As for overall cooking time, it depends on the age of your condensed milk. I find that older cans caramelize faster.
Frequently Asked Questions
What Can I Use Dulce De Leche For?
Dulce de leche works with basically all desserts. I like to drizzle it on my ice cream and top it with chopped nuts. You can also use it to make some delicious chocolate caramels, but these will need plenty of time to set. Some good old fashioned cake is another suitable dessert pairing for dulce de leche.
How Long Does Dulce De Leche Last?
Your homemade caramel will last for a few days at room temperature, but if you want to increase its shelf life, wait for it to cool completely, pour it into an airtight container, and store it in your refrigerator. It’ll last for a minimum of 2 weeks.
No airtight container? No worries. Just seal your microwave safe bowl with aluminum foil.
Can I Use Evaporated Milk Instead Of Condensed Milk To Make Caramel?
You can indeed make dulce de leche with evaporated milk in the microwave, but it’s not the same thing as condensed milk, so you’ll have to amend your process ever so slightly.
The issue here is that, unlike sweetened condensed milk, this alternative has a very low sugar content, so you’ll have to add some brown sugar to kick-start the caramelization process. Corn syrup will work too.
Can You Make Dulce De Leche With Heavy Cream?
Heavy cream makes one hell of a caramel, but again, you’ll need to add plenty of brown sugar or corn syrup, and, technically, it wouldn’t be dulce de leche, as this title refers specifically to caramelized milk, not cream.
You could also add heavy cream to your condensed milk dulce de leche to make it even more creamy and delicious.
Final Thoughts
With such a short cooking time and easy prep process, there’s really no reason not to give this homemade caramel recipe guaranteed to zhuzh up any dessert a go.