When you’ve been spending hours on a loaf of bread or something containing yeast, there’s nothing more disappointing than it failing to rise.
This is a common issue with yeast, and you need to make sure the yeast is alive when you use it in bread recipes. Let the dough rise, and you will have an excellent loaf of bread.
However, what happens if your dough doesn’t rise? Well, this is why you need to bloom yeast.
Blooming yeast mixture is a sure proof way to check it is alive, whilst watching a rapid rise. Let’s find out more about blooming yeast.
What Is Blooming?
Blooming yeast is the act of testing the yeast, to check it is alive. This is especially helpful if your yeast has been stored away for some time.
Yeast should always be activated in warm water, and this works for fresh yeast as well as active dry yeast.
Yeast is alive, so you need to check the yeast is alive, especially if it has been stored away. This is because the cells within the yeast, and especially compressed yeast, die.
Testing if this yeast is alive is called blooming, but it is also called proofing yeast.
Why Bloom Yeast?
Firstly, let’s start with the basics. To activate the yeast, the yeast should be within its expiration date. If it is not within the expiration date, it will most likely be dead.
Professional bakers always bloom their yeast, as it will not rise otherwise.
Not every type of yeast needs to be bloomed. Fresh active yeast and active dry yeast need to be bloomed, but instant yeast or rapid rise yeast do not need to be bloomed.
This is because they will lose the ability to rise super fast if you try to bloom them.
What Do I Need To Bloom Yeast?
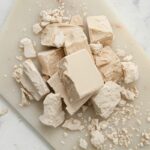
To bloom or proof yeast, you will need a few things. You will either need your active dry yeast or fresh yeast, as well as 1/4 cup of warm water and a teaspoon of sugar.
Always use warm water, because this gets the yeast foaming, and the yeast activating.
The water temperature is extremely important, and hot water will kill the yeast, and cold water will do nothing at all.
Make sure the temperature of the water is lukewarm or warm, and it should be around 100-110F. If the water is too hot, let it cool down. Otherwise, the process will not work.
How To Bloom Yeast
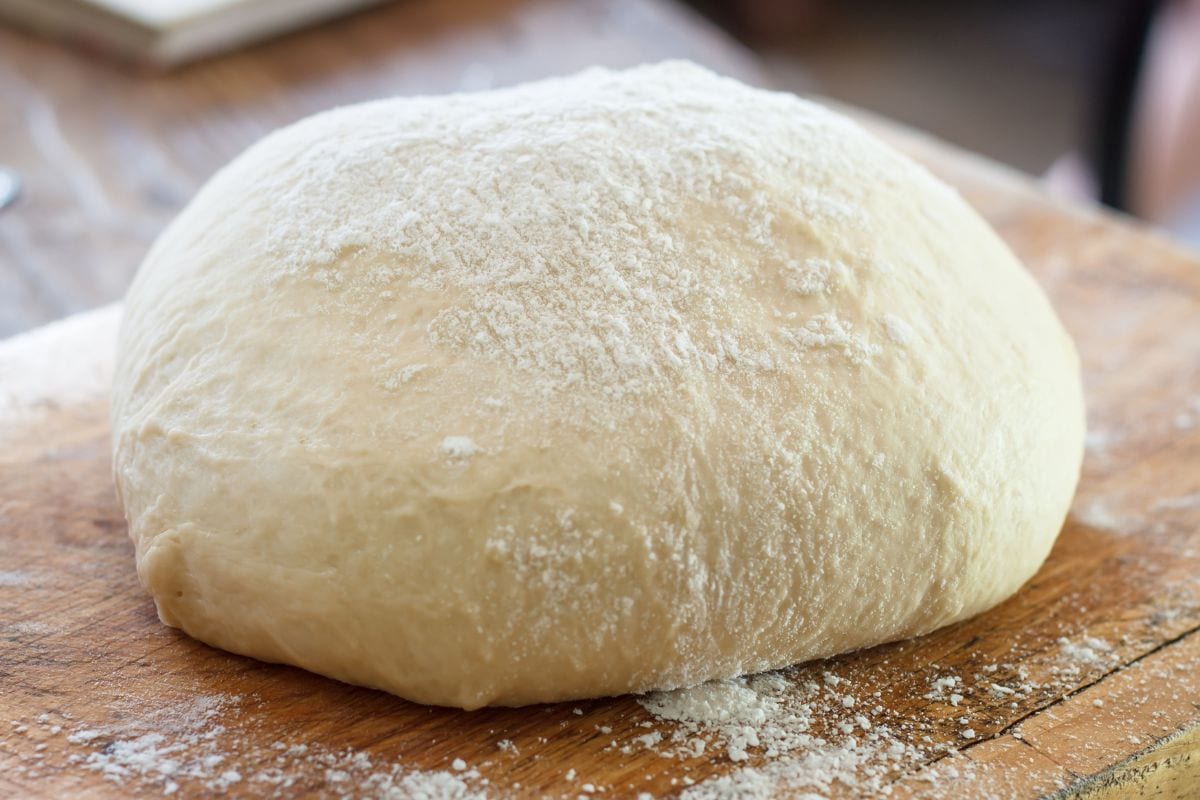
So, let’s find out how to actually bloom yeast for your recipes. To activate yeast, follow these steps.
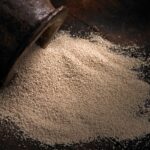
Sprinkle your active dry yeast or fresh yeast in with your warm water, and sugar. This should be done in a bowl or a measuring cup.
Let this mixture sit for ten minutes, and do not stir it. A little sugar is necessary for the yeast to dissolve and foam.
If the yeast mixture is alive, the yeast will begin eating the sugar, fermenting into alcohol and carbon dioxide.
The carbon dioxide will help the yeast foam up, and this is when you know that it has bloomed successfully.
After waiting ten minutes, the yeast should have foam on it, or it should still be foaming in the measuring cup, doubling in height.
This is a close sign that your yeast is ready to be used.
After the yeast has foamed up, the test is complete, and you are ready to add it to your other dry ingredients, ready to make bread and other baked goods.
Home bakers always follow this proofing and blooming method, but it is also super easy to get wrong.
A small quantity of yeast, water, and sugar goes a long way, and people often add more ingredients than they should, when you only need a small amount.
Add your yeast mixture to your other ingredients. This can include flour, liquid, milk, sugars, and salt. These are all things you will be using in your mix.
Make sure that the amount of sugar water used in your yeast mixture is the same amount that you need for the recipe, as you may need to adjust the measurements to correspond with the recipe.
If the recipe calls for other measurements, you can adjust the amount of water and sugar, but never the yeast.
If the recipe you are using does not contain sugar, swap out your sugar for 1/8 teaspoon of sugar, instead of a full one.
Using Yeast For Breads
Yeast is the main ingredient in bread, giving it its rise and flavor. Without yeast, bread will not be bread.
Mixing all the ingredients together without a proof will cost you a good loaf of bread, so always bloom your yeast.
Add your yeast to warm water, along with a small amount of sugar, and let it bloom, just how we did earlier.
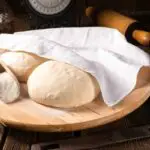
Add this to your dry ingredients, and combine. Always let your dough rest for a few hours, as this is the best way to tell if the yeast has activated.
Proofing
Homemade bread requires yeast, as each recipe calls for this, as well as flour, water, and salt. To activate yeast, follow the previous steps, and watch the change.
However, for a successful loaf, you need to let your dough proof. Dry yeast works the same way as active yeast, but dry yeast will probably require more proofing.
This is the same for cake yeast, if you are using yeast for cakes and baking. Let it rise for a few hours, until it has doubled in size.
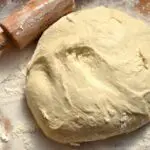
Once it is big, punch it down, and flour a surface. Then, knead your dough! This will help keep everything airy and ready to be put in the oven.
Final Thoughts
Proofing yeast is always necessary, but it can be a tedious process to proof yeast.
Active dry yeast and fresh yeast work in the same way, and they both need to be added to a secret liquid called water!
Warm water is crucial, and this will let the yeast bloom and foam. A lot of people forget this step, but it is the most crucial.
Happy baking!

