Bread bakers use a banneton basket or proofing basket to allow the bread dough to rise before putting it in a bread tin. They were typically used by artisan bakers to produce round loaves.
If you want to know how to use a proofing basket, we are here to give you all the information you need.
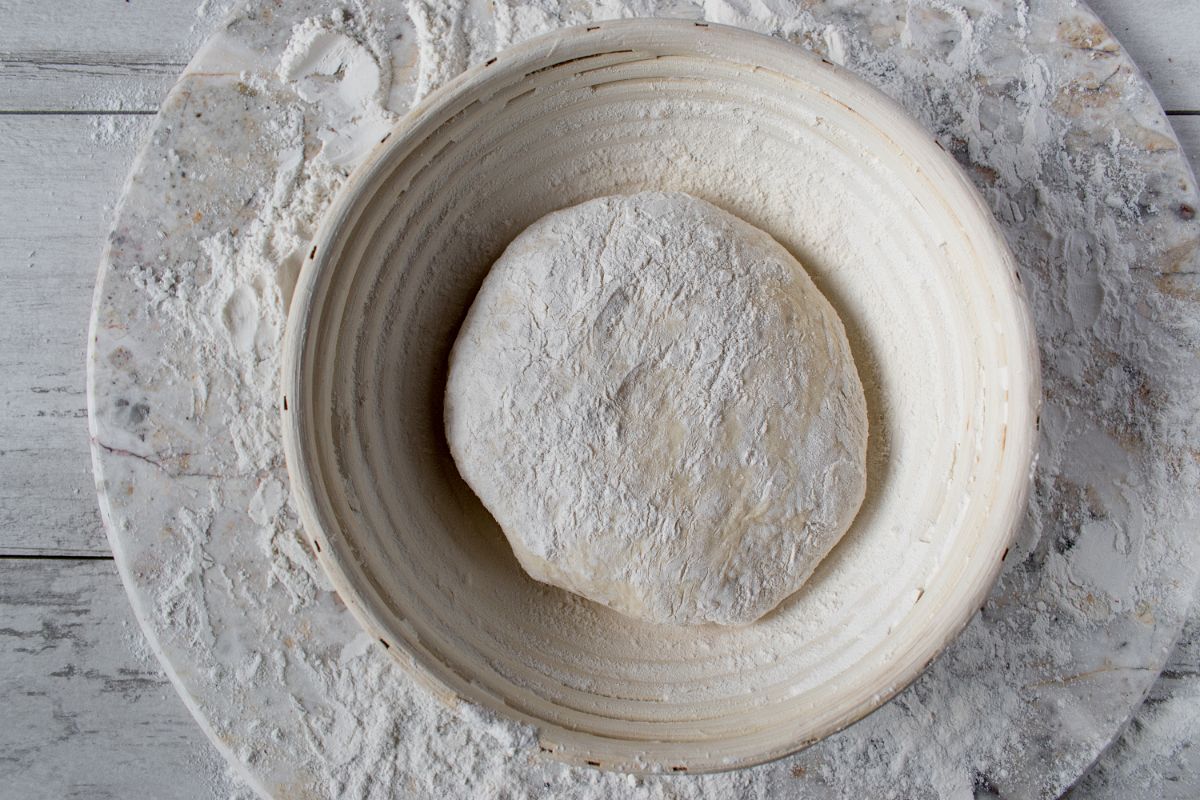
What Is A Banneton Proofing Basket?
Banneton baskets are used by artisan bread bakers for proofing dough prior to putting it into a baking tin. They can be either wicker baskets which leave a beautiful spiral pattern on the bread loaves or made from reeds, terracotta or cane.
They come in many shapes and sizes but the most commonly used are round or oval, and they are not just for artisan bakers, anyone can use banneton baskets.
For as long as people have been baking bread, banneton baskets have been used to proof dough. They were made from weaving reeds or wicker and provided a way to shape the dough before baking.
Why Use A Banneton?
To achieve a shaped dough when baking bread, you can use a banneton. The proofing basket supports the dough as it rises and gives it shape.
A proofing basket made from cane will also absorb a small amount of moisture from the dough.
This makes the outer layer a little drier and easier to score, which in turn allows the bread to open nicely during baking. It also makes for a nice crust on your loaf.
As the banneton basket provides the shape, bread or rolls can often be put straight onto a baking sheet to bake. Or you can use it to make a shaped loaf which then goes into a bread tin.
Preparing Proofing Baskets With Rice Flour
Rice flour is often used to prep proofing baskets to stop the bread dough sticking to the interior. It is particularly useful when making sourdough bread, which is a sticky dough in comparison to regular bread dough.
Once the proofing basket is dusted with rice flour, the dough is placed in it and then covered and left to rise. When proofing wet dough, you may want to use a banneton basket liner. Simply dust the liner with rice flour and pop the dough in to rise.
Why Do You Need To Prep A New Banneton Basket
It’s not advisable to use a banneton basket without prepping it first. This is because it will need some rice flour or gluten free flour to stop the dough from sticking to the sides of the proofing basket.
Rice flour and gluten free flour work best because they don’t absorb moisture like ordinary wheat flour.
Your new banneton basket may come with a linen liner to stop sticky dough like sourdough bread from adhering to the sides. However, the banneton liner will still need to be dusted with gluten free flour or rice flour.
Proofing Bread Dough
Proofing baskets are used for a lot of different bread doughs including for sourdough bread baking and other artisan style breads.
When you have made your dough, the gluten structure relaxes and allows the dough to spread out. The proofing basket supports the dough as it rises and prevents it from flattening out.
Lightly dust the dough with bread flour or rice flour and invert it into the proofing basket. This means the top of the dough will be at the bottom of the basket so that when you turn the dough out it will be the right way up to place in bread tins.
To remove the dough from the proofing basket when it is fully proofed, turn the banneton upside down. Then put it on a baking tray with a light flour dusting. If it doesn’t come out easily, tilt the basket back and forth to gently coax the dough out.
If you find you have excess rice flour on your dough, you can use a pastry brush to remove it before putting the bread in the oven.
How To Clean A Banneton Basket
Banneton baskets should be cleaned to prevent any mold growing on them. Use a pastry brush to remove excess flour from your proofing basket or banneton. You can then use a stiff bristled brush to clean out any pieces of dough, especially if it is a wicker basket.
You may think that a clean basket is one that has been washed, but you shouldn’t wash proofing baskets. Although, you can occasionally wash the cloth liners.
The basket should be stored in a warm place to air dry completely and to remove any traces of damp.
If you do find traces of mold on your proofing baskets, put them in an oven at 250ºF to 280ºF for 30-40 minutes, which will kill the mold.
What If You Don’t Have A Proofing Basket?
If you don’t own a proofing basket, you can just use a bread tin to proof your dough. While proofing baskets are a wonderful tool, they are not absolutely essential. If you are an amateur baker, then it’s probably not really necessary to own a proofing basket.
Bread can be proofed in a large mixing bowl as long as it has room to rise and expand. A vessel twice the size of the dough but with sides to support it as it rises is a good alternative to a proofing basket.
If you have a wet or sticky dough like sourdough bread, remember you can use rice flour so that the dough does not stick to the sides of the bowl.
Proofing But Not Baking
A proofing basket is only ever meant to be a vessel to hold and support dough while it rises and proofs.
It should never be used for baking bread, as the materials that most proofing baskets are made from are not suitable for baking bread in the oven.
We hope this guide on proofing baskets has been helpful as well as informative. We wish you happy baking!