When they are baked to perfection, chocolate chip cookies or sugar cookies are a wonderful treat. When baking cookies, every minute counts, so be sure to set your timer for the lowest amount of time.
Open the oven when the timer goes off and check the firmness of your cookies.
You can also check to see whether their colour has somewhat changed, but not significantly enough to qualify as burnt. Take out your baked cookies, let the cookies cool, and then indulge in a satisfying treat.
This article will discuss some different methods for how to tell when your cookies are finished baking so you can enjoy perfect cookies every time!
Methods For Checking Your Cookies Are Done
Follow the methods below to make sure that your cookies are finished baking and cooked to perfection.
1. Checking Visually
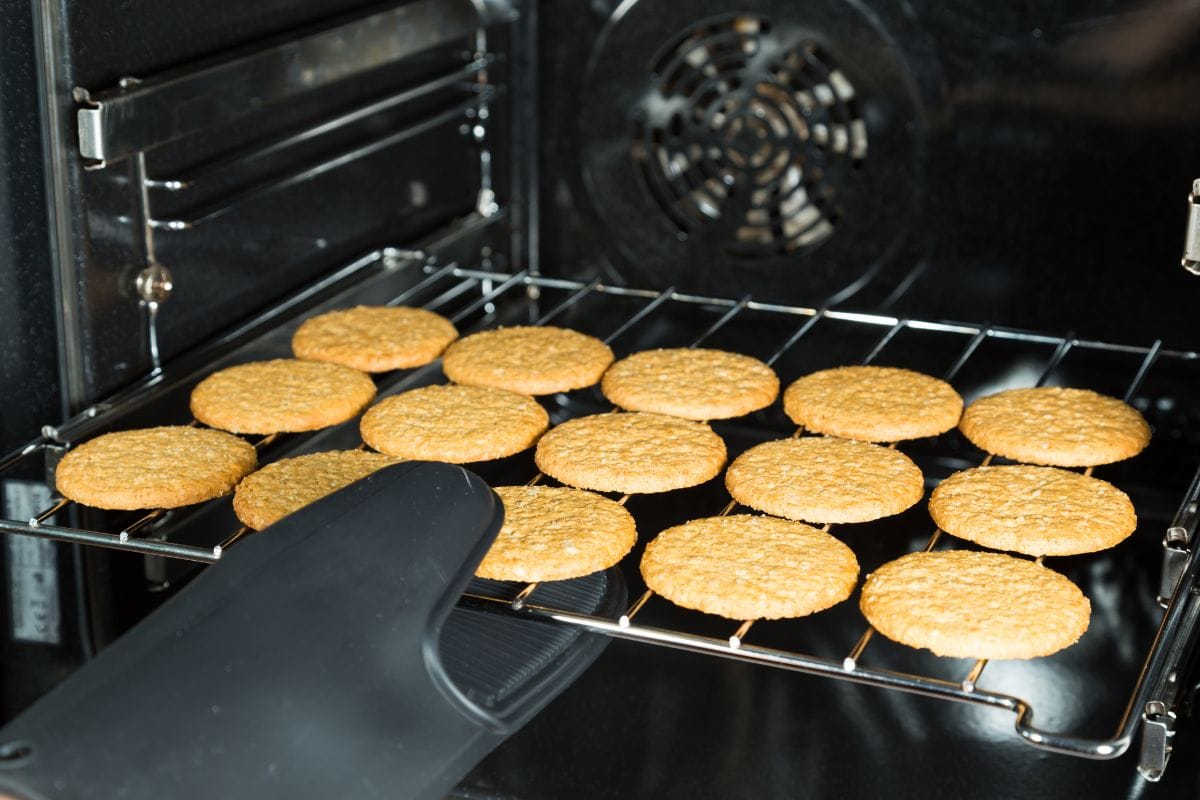
Look for golden brown edges. The colour of cookies made with softer dough will vary as they bake. While the borders may become more golden brown or light brown, the centre may still be a lovely golden colour.
To avoid having burnt cookies, take the cookies out of the oven when they are golden brown before their edges turn dark brown.
You can use this technique, for instance, to determine when peanut butter, oats, sugar cookies, or other drop cookies are done.
Keep an eye out for the crumb topping to brown. Check to see whether the colour of any brown sugar or streusel you used to top your cookies has altered. The topping ought to seem golden in colour.
The topping on your cookies could burn and become dark brown if you leave them in the oven for too long. Make sure to set the right oven temperature – you could use an oven thermometer too.
You must keep a close eye on the crumbs to ensure they don’t burn if your recipe for bar cookies asks for adding the topping at the end of baking.
By this time, the cookie’s inside is typically perfectly cooked and you should have delicious, gooey, crispy cookies. If not, continue baking.
Look for a cracked or broken top. Small quantities of flour are used in some cookies, such as fudge ecstasies, which reveal their readiness by breaking open at the centre and the edges.
Before baking, it’s a good idea to take a look at a finished cookie photo so you’ll understand what to anticipate. These cookies have a more firm texture and a hue that is almost neutral.
If they are still a little puffy, remove them. A soft, light-colored cookie should maintain its shape when it is finished baking.
However, the middle could also appear a little puffy or squishy – make sure to let the cookies harden.
This is typical and just indicates that when the cookie is taken out of the oven, it may still bake on the tray and rack. Cookies will become soft, gooey and chewy if you remove them from the oven at this point.
However, overcooking can make food fragile.
When baking dark-colored cookies, don’t rely just on visual cues. Often, when darker cookies start to clearly deepen in colour, it indicates that they have already been overdone.
It’s best to verify for doneness physically rather than visually in order to prevent this.
2. Physical Inspection

Put your finger to the edges and press. Open the oven, slide the rack and cookie sheet out a little, and gently press the cookie’s edges with a spoon or your finger. The cookies are done if the edge holds firm and doesn’t sag inward.
Your cookies probably require a few more minutes in the oven if you make a pronounced indention.
Dark cookies like chocolate or gingerbread, whose colour isn’t the best barometer of doneness, respond well to this technique.
Be very careful not to get scorched by the baking sheet if you decide to test with your finger, and use an oven mitt to take them out.
When working with delicate cookies, such as shortcake, test them by lightly pushing in the middle as opposed to the edges. This will lessen the possibility of them separating upon touch.
Check the bottom of the cookie by lifting it up from the cookie sheets. Push a spatula halfway underneath a single cookie as you open the oven. Check the cookie’s underside’s coloration by raising it a tiny amount.
The cookie should have a firm texture and a lightish brown or golden appearance. Lift the cookie carefully to avoid splitting it in half. Pale-colored cookies respond beautifully to this technique.
Make sure you have let the cookies bake for the minimum baking time.
You can also use the toothpick test. Into the cookies, insert a toothpick. Because bar cookies are so heavy and frequently have dark colouring, it can be challenging to determine when they are done.
Incorporate a wood toothpick or skewer into the bar. Continue until you approach the cookie’s halfway point.
Your cookies are not nearly done if there are a lot of crumbles or mixture on the wood. Use wooden skewers or toothpicks wherever possible. Metal ones are less effective because the crumbs will just fall right off.
3. Time The Cookies
Observe the instructions of the cookie recipes. Before beginning to mix ingredients or bake cookies, carefully read the recipe. The temperature may need to be changed mid-bake, or the cookie sheet may need to be placed on a specific rack.
Be warned that changing the ingredient list in any way could affect the cooking times or temperature. Nobody likes their cookies raw! Set a timer to the minimum baking duration.
Once the cookies are in the oven, set a separate kitchen timer or set the oven’s timer to a preset period.
This will enable you to monitor for readiness and prevent your cookies from burning. Make sure the buzzer on the timer is loud enough for you to hear it across the entire house.
When the allotted time has passed, check the cookies every minute. You should keep a tight eye on the cookies going forward if you check them for readiness at the minimal time and they aren’t.
Check the oven every minute, either by opening the door and looking in or by looking through the glass door.
Be mindful that you would only want to do this at the end of cooking, not during the entire process. The temperature inside the oven does fluctuate when it is opened.
Final Thoughts
Allow your cookies to cool on the tray for three to five minutes after removing them from the oven.
After that, carefully lift each cookie with a metal spatula and move it to a wire rack. Hopefully this article has helped you learn how to tell when cookies are ready!
Enjoy your soft, gooey, freshly baked cookies.


