Any seasoned baker knows that the difference between a successful bake and a successful one is the small details.
With this in mind, it is important to pay attention to how we measure and aerate flour. In this article, we will show you how to properly aerate and measure flour.
What Does Aerate Mean In Baking?
Aeration in baking refers to the formation of small air pockets between small particles of food items. It is possible to aerate both liquid and solid food products.
It is also one of the most important steps in the baking process of many recipes.
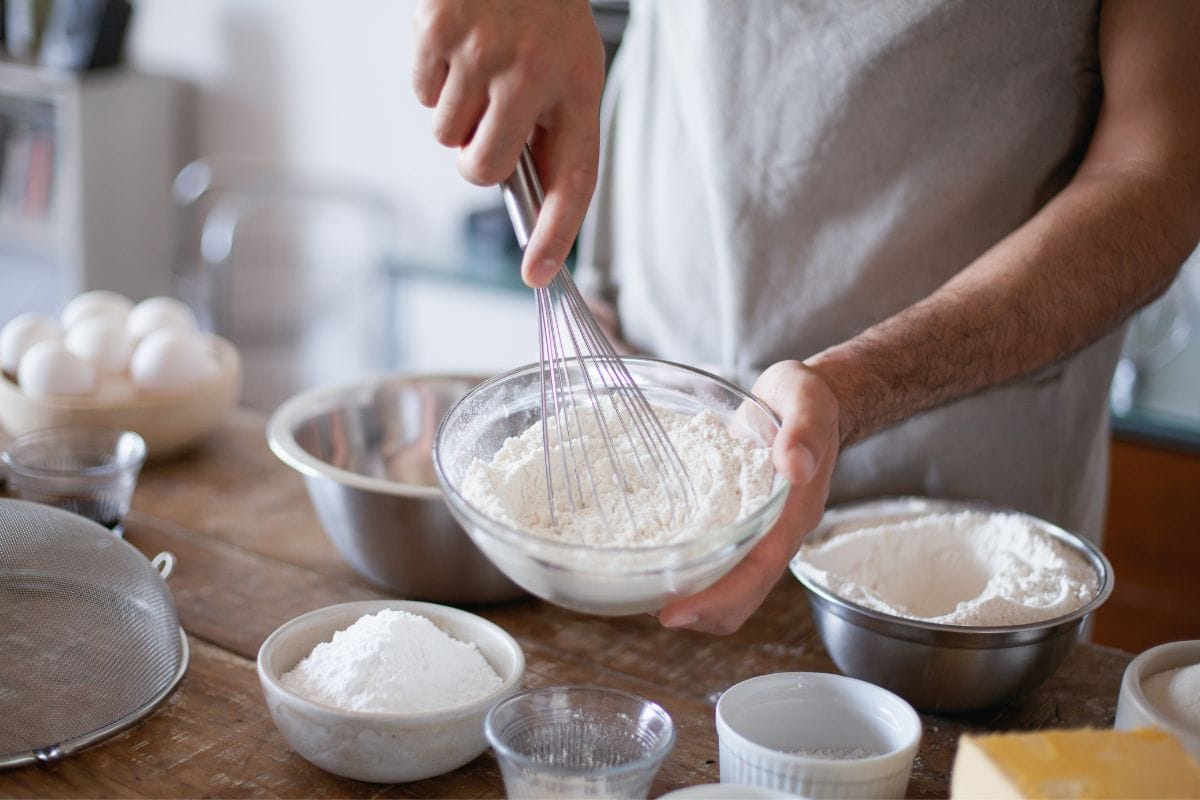
Aeration is often achieved through whipping, beating, and whisking, although there are other methods that can be used, especially when creating aerated flour.
Essentially, when you aerate your flour, you break up the packed flour that has formed while the packet sits on the pantry shelf.
Many baking recipes call for this step to help avoid dense baked goods.
There are two main reasons why you should want to be aerating flour for your baked goods. The first reason is to get accurate measurements.
For example, one measuring cup of aerated flour is different from one measuring cup of packed flour.
The second reason to aerate your flour is to ensure that your baked goods have the proper texture, especially with delicate cakes.
How To Aerate Flour When Baking
For best results, you should aerate your flour before you measure it out. Aerating flour is a simple process but it makes all the difference to the outcome of your baking.
All you need to aerate your flour before measuring is a balloon whisk or a wooden spoon and a large bowl. As this step happens before measuring, there is no need to be accurately measuring the flour.
Simply add a good amount of flour to your bowl, it doesn’t matter if you have excess flour, this is better than too little flour.
Simply take your large spoon or whisk and begin to stir the flour in circular motions. Start with a slow and gentle movement to get the flour moving.
A medium stirring speed is perfect for creating aeration without getting the flour all over your work surface. Throughout the aeration process, you will notice that the flour begins to fluff up.
The flour is properly aerated once it has become fluffy and light and appears to have grown in volume.
If you want an extra layer of aeration you can sift flour through a sifter. This will ensure that it is properly aerated prior to measuring.
Remember, when you are measuring flour, one measuring cup of aerated flour will be different from one measuring cup of unsifted flour.
How To Aerate Flour Without A Sifter
If you do not have a flour sifter it is still possible to properly aerate your flour. In this instance, using a balloon whisk is the best way to introduce air pockets between the flour particles.
Again, you should stir the flour in circular motions to ensure that it is fluffy and light.
If you are adamant about sifting flour but don’t have a sifter, you can use a sieve. However, it should be noted that this will take longer than using a sifter.
What Happens If You Don’t Aerate Your Flour?
Unless you are a professional baker who bakes day in and day out, flour sits. Whether it is on the shelves in a store or it is in your pantry, it will settle.
This makes the flour denser. If you go ahead and use flour that hasn’t been aerated, you will unwittingly end up using way too much flour.
This is because one cup of unsifted flour contains more flour than one cup of aerated flour.
You can verify this by placing a cup of aerated flour and a cup of non-aerated flour onto your kitchen scale to see the difference.
Using too much flour in a simple bread recipe, for example, will increase the volume of dry ingredients which can lead to a baking disaster.
Does Sifting Aerate Flour?
In general, yes, sifting is an effective way to aerate your flour and avoid using too much flour in your recipe. This is because the act of sifting the flour allows pockets of air to penetrate the flour particles.
The process of sifting flour will help make sure that your baked goods are fluffy every time.
Although it is worth noting that the best method is to sift flour and use a whisk or spoon to add extra air to your baking.
Steps To Accurately Measure Flour
It is hard to find a cake or bread recipe that doesn’t list its flour measurements by cups.
Whether a recipe calls for a cup of flour, a half cup, or two cups, it is essential to know how to measure this accurately.
You could gently dip the measuring cup directly into your bag of flour, but you will end up with more flour than you need and the wrong ratio of dry ingredients and wet ingredients.
Below, we have outlined the steps to accurately measure flour.
The first step in measuring your flour accurately is to properly aerate it. This can be done using the methods outlined above.
Make sure that you are using a large mixing bowl to avoid spilling it. It is also okay to have extra flour left over after aerating.
Once you have aerated the flour and it has become light and fluffy, you can begin to measure it for your recipe. Get a clean mixing bowl ready to transfer the flour to.
Gently scoop some of the flour into your measuring cup using a spoon.
Try to avoid dipping your measuring cup directly into the aerated flour. Because the flour is so fluffy, the cup is likely to be piled high.
Using a butter knife, you should gently scrape the top off so that the measuring cup is level. Be careful not to pack down the flour as this will remove the air pockets.
You can then transfer the cup of flour to your mixing bowl for dry ingredients. This will count as one cup.
Final Thoughts
Aerating your flour is the simple process that makes all the difference in how your baked goods will turn out.
Making sure you complete this step and measure your flour properly will ensure some happy baking.