If you want to make your own sourdough bread, then the process is not as simple as it looks.
Bread baking can be incredibly fun, and not to mention tasty, but if your dough is playing hardball, you may be rather frustrated.
There are so many things that can ruin your sourdough bread, or make it soft, floppy, and shapeless, from a hydration level that is too high, a lack of surface tension, to poor gluten structure.
Don’t worry, I can help you find out what the problem is, and help you make a great sourdough bread.
Reasons Why Your Sourdough Bread Is Flat
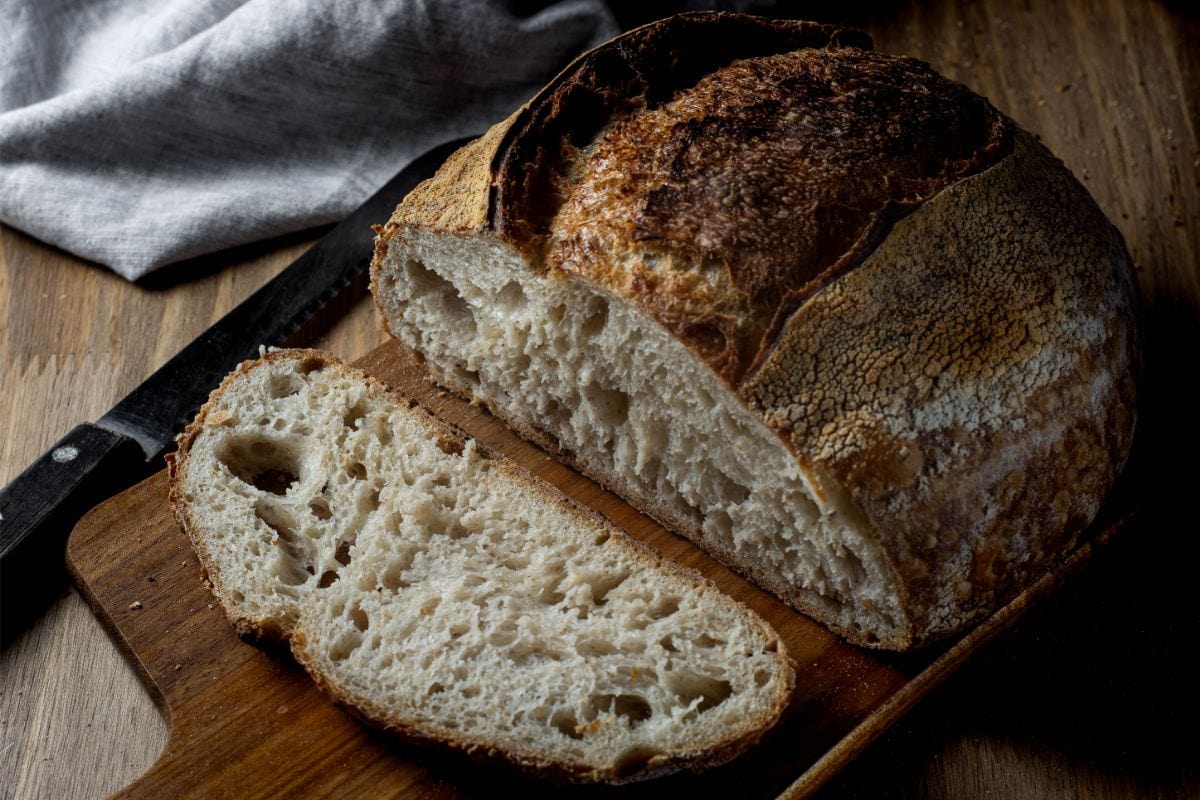
Sourdough needs to form a good shape, but this does not always happen when you bake bread. If you find that you tip out your bread from the pan, and it is flat, shapeless and unable to rise, then this could be for a few reasons.
Flour Issues
Flour is one of the most integral parts of baking sourdough. Having the right flour can make or break your sourdough bread. Using a different flour can change the flavor, texture, and shape of your sourdough loaf.
This is because different flours absorb water at different speeds, and develop the gluten in various ways.
The protein content in flour can also determine its structure. So, not enough protein will result in a dough that has little structure. The best flour for sourdough bread is white bread flour.
But, you can also use rye flour or whole wheat flour for sourdough starters as these can be great for efficient fermentation. It is best to follow a recipe, and go with what flour the recipe suggests.
Not Using Banneton
A banneton will support the loaf while it is proofing, and will help the dough hold its shape.
Over Proofed Dough
Sourdough bread, like other types of artisan bread, should not be proofed for too long. If it is, then the dough will not rise properly or hold its shape.
You will still be able to bake the loaf in a loaf tin and eat it, but it will not give you consistent results.
Be careful not to overproof the dough. Always follow the recipe and use a timer if needed.
Poor Shaping
If you do not shape the dough well before putting it in the refrigerator, then you can’t expect the refrigerator to fix it!
You have to have good surface tension, and stretch out the surface of the dough around the rest of it for it to hold itself in place.
Too Much Water
If your dough tends to spread out and look sloppy, then it likely has too much water. High hydration doughs can result in shapeless, wet dough.
Sourdough bread typically does not need a lot of water, but too much can ruin your loaf.
Try to stick to a hydration level of about 60 to 75%. This can make it simpler for you to shape and mold the bread.
Poor Gluten Structure
Part of the proofing process when bread baking involves developing the gluten in the flour. This is what gives bread its structure and holds it together.
If your dough is not rising, then it could be because it is lacking in gluten structure.
The longer you mix, the more elastic, stiff and strong the dough becomes as more gluten strands are aligned and developed.
If the dough is under mixed, there is insufficient gluten that is developed to provide the strength required for the dough to support its own weight.
In addition to this, over-mixing the dough can break down the gluten bonds, and all of the trapped water in the dough will be released, making it wet, and lacking in structural integrity.
Exhausted Or Weak Sourdough Starter
Sourdough starter will need to be turned into dough from the moment it has doubled. This is when your sourdough starter is at its strongest, and it will give you a good rise.
When the sourdough starter has doubled, it will have a bubbly surface and pillowy appearance. If it is runny, then it has no structure and it will not rise.
Tips For Making Sourdough Loaves
Improve Surface Tension
A surface tension that is too little can result in shaping issues for your sourdough bread. The more time you spend creating surface tension, the better your bread’s shape will be.
When shaping your sourdough bread, you want the ‘skin’ of the dough to wrap tightly around the rest of your bread mix. This should hold it all together and keep it tightly shaped and structurally sound.
This will give you a layer of gluten and a gluten network that keeps everything together. To get it perfect, you will want to shape it, and then set it aside for about 15 minutes.
Leave to rest, then repeat and shape it a second time. This should tighten up the dough and prevent it from getting flat after it has baked.
Proof Properly
Sourdough proofs slowly, and it is hard to get right. You have to consider the temperature of the room, and the amount of sourdough starter.
The colder the temperature is, the longer the dough can ferment for. The hotter the temperature is, the faster it will ferment and rise.
Ensure Gluten Development
The flour used has to have plenty of protein in it to get good gluten strands! If your flour has low protein, then you will not achieve much gluten development.
Use The Right Flours
Always use fresh flour such as strong white flour. However, it can be a good idea to add some whole wheat flour or rye as this can help soak up water and ensure that the bread is not overly hydrated.
This will ensure that the bread is not poorly shaped after baking.
Be Very Careful When Taking Your Bread From The Banneton To The Baking Tray
The best way to transfer your sourdough bread from the banneton to a hot dutch oven is by flipping it onto parchment paper, and lifting the dough by the parchment paper.
This can help the bread retain its shape before it is baked in a hot oven.
How Long Should You Proof Sourdough Bread Dough For?
Even if you get the best sourdough starter, have the right flour and make a fantastic dough, you can lose it when rising and proofing.
Sourdough has to rise two times. If it is not left long enough for either of the rises, the sourdough will be flat.
Proofing time varies, but I would suggest that after kneading, you should shape your loaf, cover it, and let it proof for 4-24 hours, depending on temperature and your starter.
The first rise will take from 4-12 hours, as you need the dough to double. You will know when it has when the dough is noticeably bigger.
Then, you can shape it. The second rise will not double, but the dough will puff and bounce back slightly if poked.
Properly proofed dough undergoes the oven spring, where the carbon dioxide gasses express in the oven. Over proofed dough lacks the carbon dioxide needed for that boost, and will give you a flat loaf.
Under proofed dough is dense and lacking in volume. To see if your dough is over proofed or under proofed, or just right, try the poke test. Poke the dough lightly and see how the dough bounces back.
If the indent comes back quickly, it is not proofed enough and may need another half hour or more. If the indent doesn’t bounce back quickly, then it is over proofed dough.
Final Thoughts
Baking sourdough can be tricky at first. If you follow our tips, you can create a sourdough bread that has the right flour, texture, flavor and shaping.
It just takes a little practice to get it right, and to create a loaf that will taste great!


