Cherries are delicious fruits that come from trees native to North America. They are usually red or yellow and contain pits. The pits are edible and can be eaten raw or cooked.
There are two types of cherry pits: sweet and sour. Sweet pits are smaller and round. Sour pits are larger and oval-shaped.
Pit cherries are often sold canned or frozen. If you want to eat them fresh, you’ll need to remove the pits before consuming them.
This is where the term ‘pit’ comes into play. When you pit cherries, you remove the pit. Once removed, you can either cook the fruit whole or cut it into pieces.
There are several ways to pit cherries. One way is to simply place the cherry on top of a cutting board and hit it with a hammer. Another method involves using a cherry pitter.
These devices look similar to a pair of pliers. Simply squeeze the handles together and then twist them apart. As they open, the pit falls out.
What Are The Best Ways To Pit Cherries?
Nothing beats using fresh cherries when they are in season and plentiful, but pitting cherries can be a challenge. Whether you are making pie filling or a cherry cobbler, pitted cherries make it easier to enjoy.
But what do you do when you don’t want to buy a cherry pitter? You could try to use a paper clip or even your fingernail, but chances are you’ll end up destroying the fruit.
If you’d rather avoid damaging the fruit, there are many ways to pit cherries without using a pitter. Here are some tips to pit cherries without damage.
1. Use A Knife
This method works best with small cherries, such as Bing cherries. Simply cut off the stem and slice it down into the bottom of the cherry.
Slice around the inside of the cherry and continue slicing towards the center. When you reach the center, twist the cherry to release the pit. Repeat on each side of the cherry. Be careful not to go too deep because you risk cutting yourself.
2. Use A Spoon
If you prefer to use a spoon, you can still achieve similar results. Cut off the stem and scoop out the cherry with a spoon.
Holding the cherry upside down, gently tap the base of the cherry against the edge of a bowl until the pit falls out.
3. Put The Cherries In A Bag
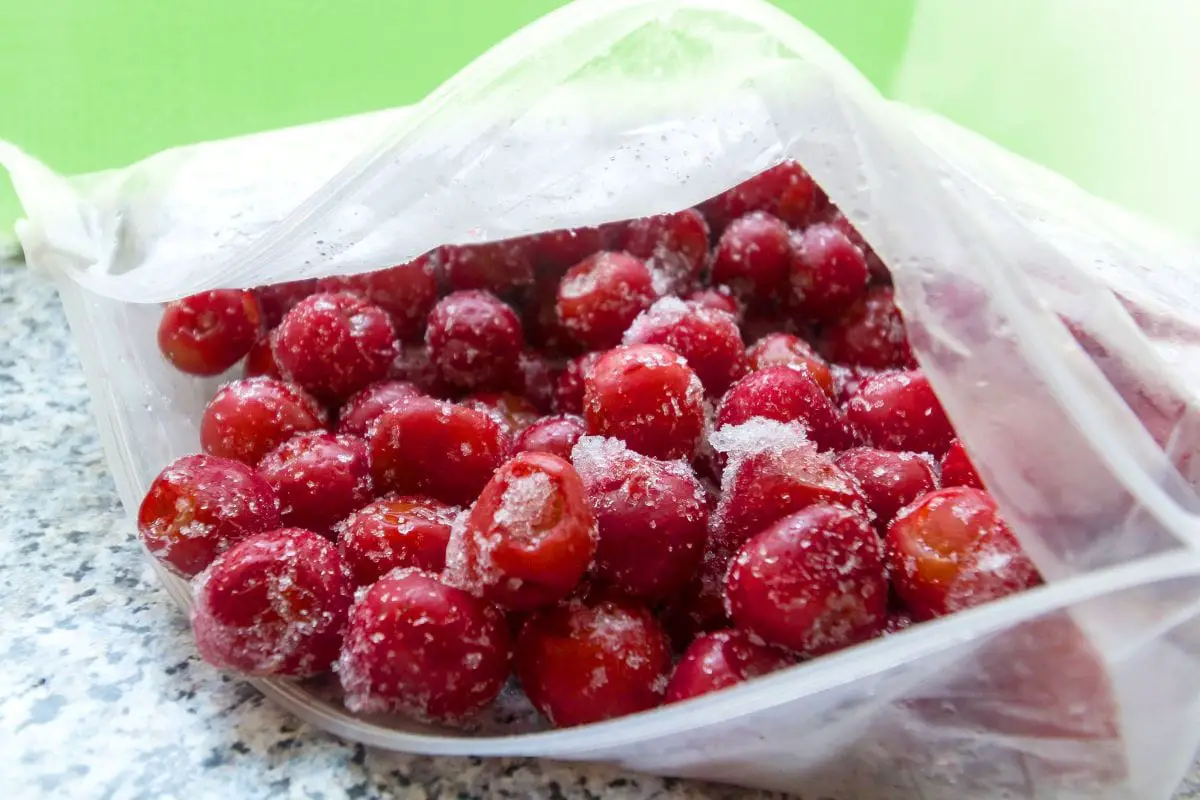
Using a pair of scissors, snip the stems off of the cherries. Then place the cherries in a large zip-top bag and seal tightly. Shake vigorously until the pits fall out.
4. Place Cherries In Boiling Water
Boiling water is another way to pit cherries without damaging them. Bring a pot of water to a boil and add the cherries.
Cook for one minute and then transfer the cherries to ice water. Once cooled, drain the cherries and repeat steps 2 and 3. This method avoids having to use a cherry pitter or remove cherry pits using tools.
5. Use A Paper Towel
Instead of putting the cherries directly in hot water, you can also use a paper towel. Remove the stem from the cherry and carefully rub the outside of the cherry.
The paper towel will soften the skin and allow the pit to come loose.
The Surgical Pitted Cherries Method
This method yields perfect-looking half cherries. If your cherries aren’t perfectly round, don’t worry—this technique works even if the cherries aren’t quite ripe. You’ll still end up with delicious, sweet cherries.
Remove the stem from the cherry, and cut it into quarters lengthwise. Place the cherry on a cutting board. Using the side of a small spoon or paring knife, press lightly against the cherry to push out the pit.
Make an incision from top-to-bottom along one side of the fruit. Use the tip of the spoon or paring knife to reach inside the cherry and lift out the pit. Be careful not to damage the skin.
If you’re making cherry halves, repeat steps 2–4 on each half. And there you have it, an easy way to pit cherries.
The Cherry Pitter Chopstick Method
The chopstick method works best with sweet cherries, such as Bing, Rainier, or Morello. Unfortunately, sour cherries don’t work well with this method, because the stems tend to stick to the chopsticks.
So if you happen to come across sour cherries while shopping, try using a different method.
Remove the stem from a cherry. Hold the fruit between two fingers and grab a hold of a chopstick. Position the smaller end into the hole where the stem used to be. Gently but firmly press down into the pit and pull it out.
The Peach Pit Cherry Pits Method
This method works best for peaches that are firm enough to hold up against pressure. If yours aren’t, use the second method.
If you want to make sure that your cherries are perfectly ripe, use this method. You don’t even need to wash the fruit; just slice it open and pop it out of the pit.
Then, take a sharp knife and score the skin along the edge of each half. Next, flip the halves over and score the flesh side again. Now, turn the halves upside down and gently twist off the pits.
The Tearing Method
This is the easiest way to pit cherries. Simply tear each cherry into quarters and pop out the pits. You’ll want to do this over a bowl or sink to catch any juice, and make sure you don’t drop any seeds!
This way, you’ll be able to make the best cherry pie during cherry season.
Use your juice to make the best cherry juice for your wine bottle, which is best enjoyed with a metal straw! And you can make use of the pitted cherry in an empty bottle.
The Paper Clip Method
Unfold a paper clip into an “s” shaped letter. Insert it into stemmed cherries and twist it around the pits until it dislodges. Pull off the paper clip, and you’ll find the cherry pit. This may be the most efficient way to pit cherries without any stem hole occurring when the pit pops out.
Final Thoughts
We hope these methods help you get the most out of your pit cherries. It’s not an easy task always, but hopefully, these methods to pit cherries can help to make it easier.